How to Create an FTP Account in cPanel
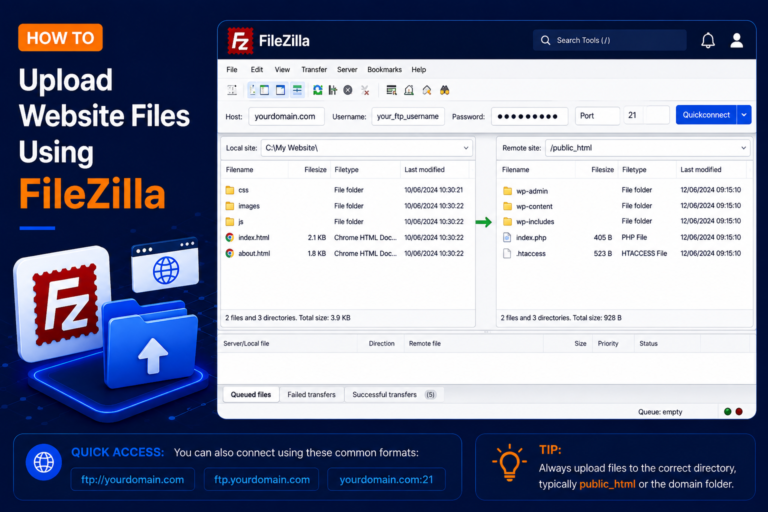
FTP (File Transfer Protocol) allows you to transfer files between your computer and your web hosting server. With cPanel, you can create an FTP account and connect it to FileZilla to upload, download, and manage website files.
In this tutorial, you’ll learn how to create an FTP account in cPanel and upload files using FileZilla step by step.
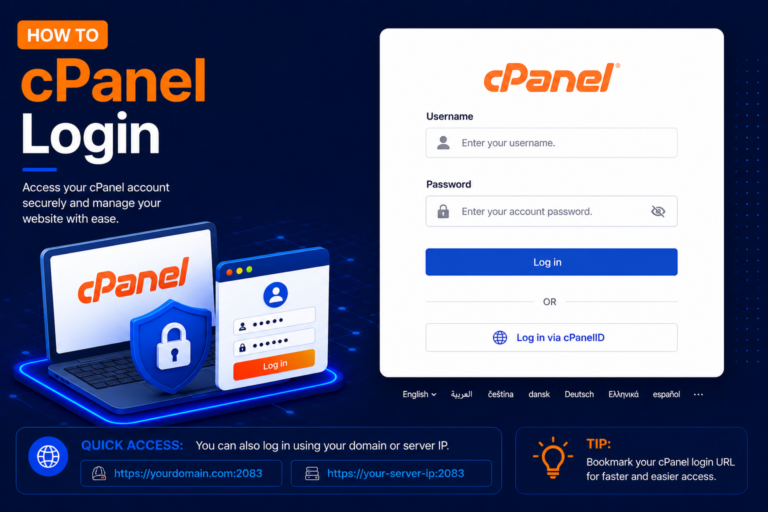
Step 1: Login to cPanel
- Enter your cPanel Username and Password, then click Log in.
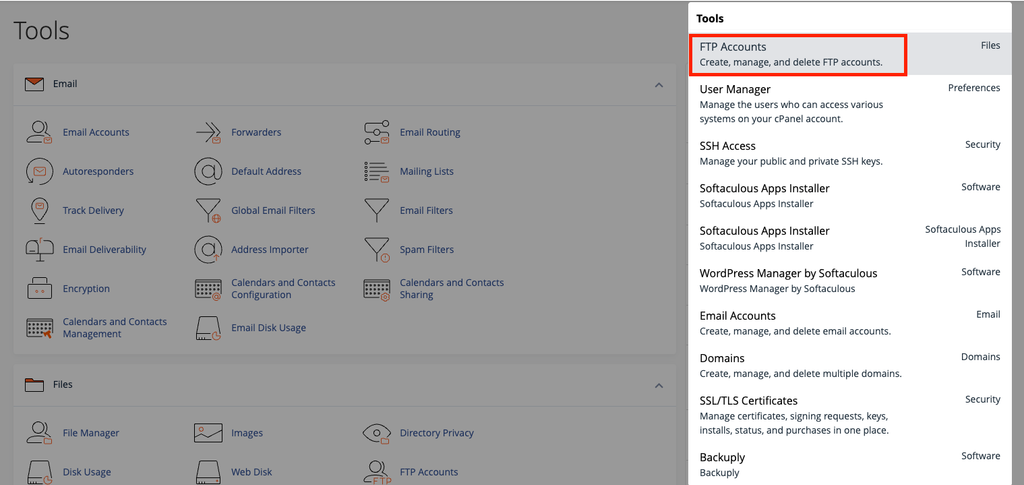
- After logging in to cPanel, locate the Files section.
- After logging in to cPanel, locate the Files section.
- Click:
- FTP Accounts
- You can also search for FTP Accounts using the cPanel search bar.
Step 2: Create a New FTP Account
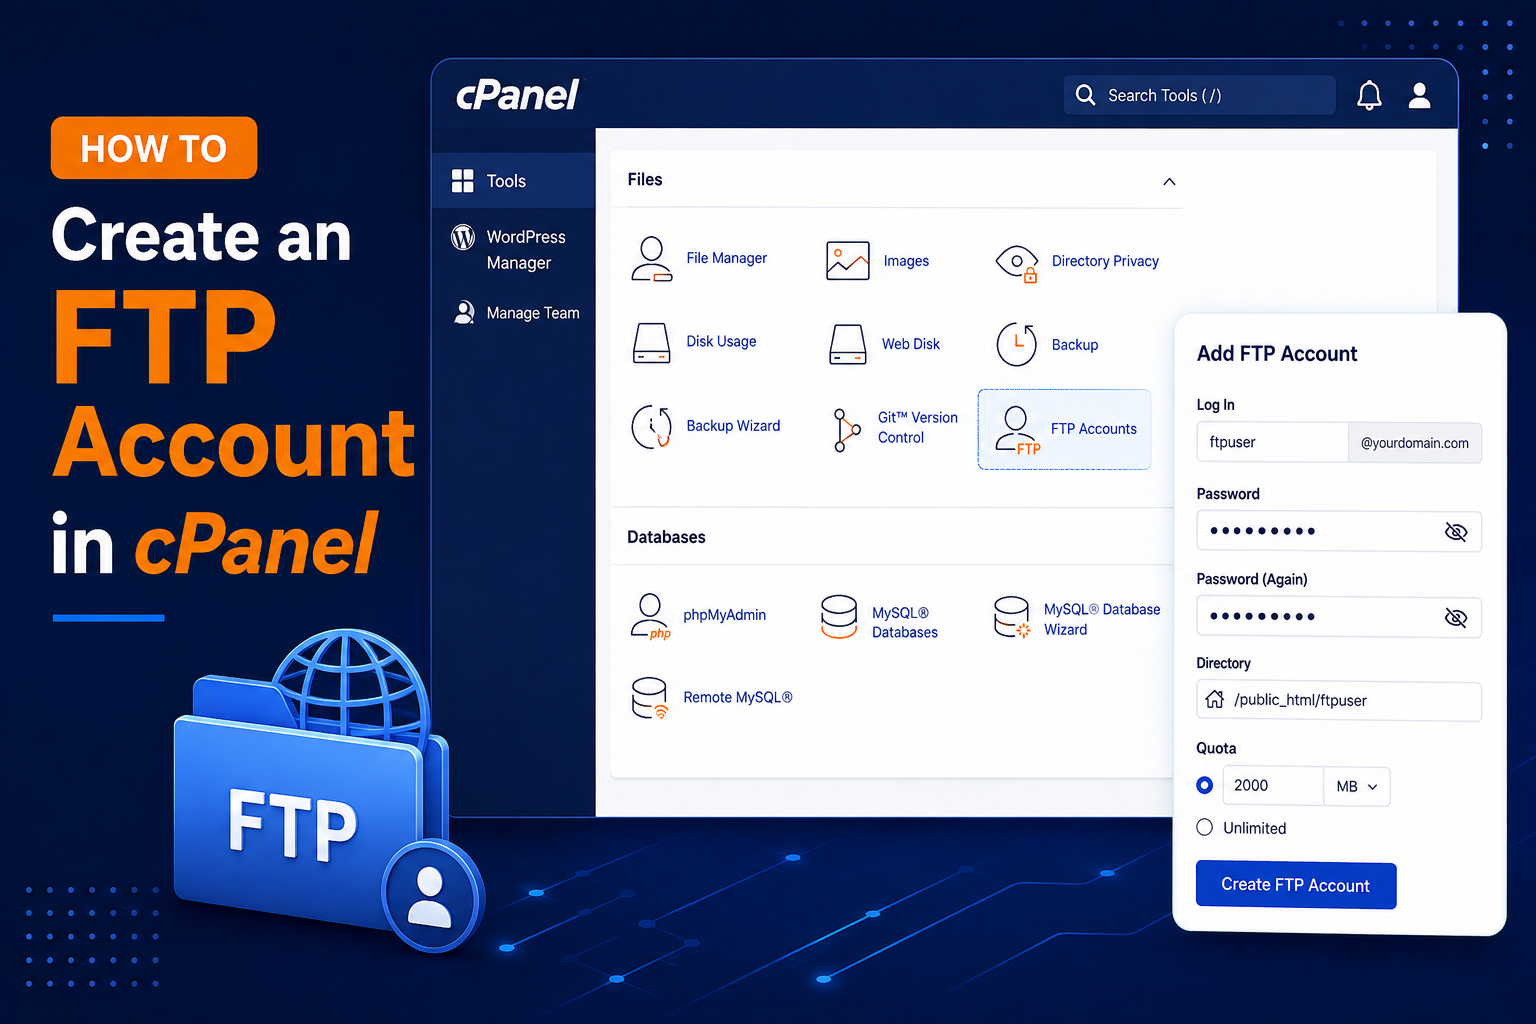
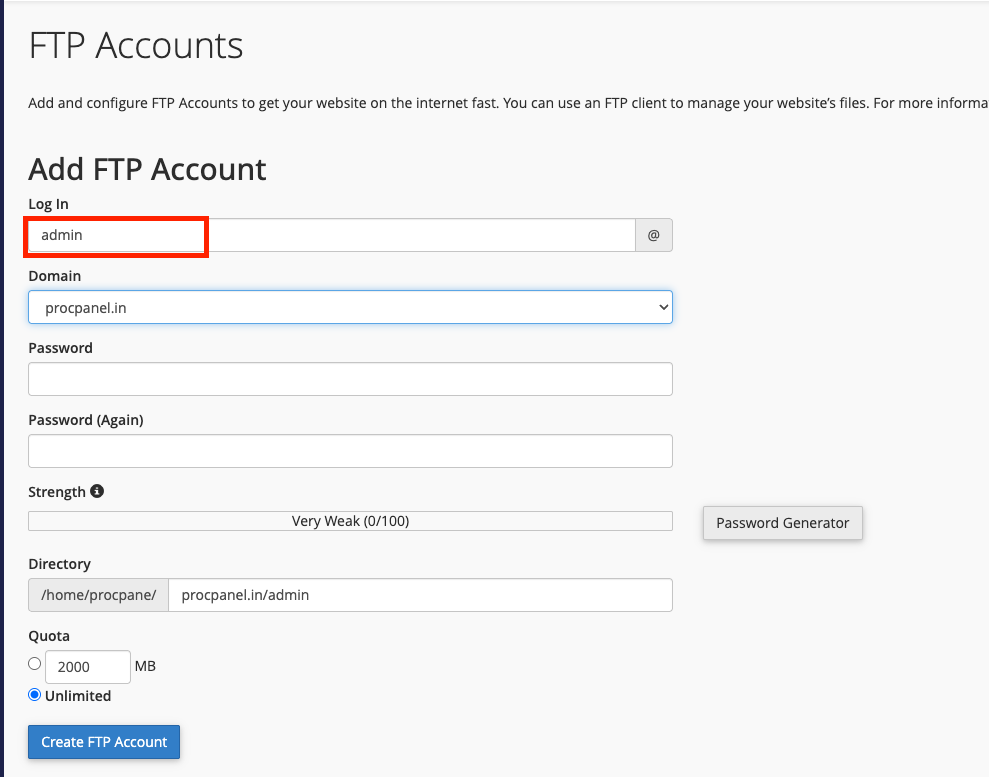
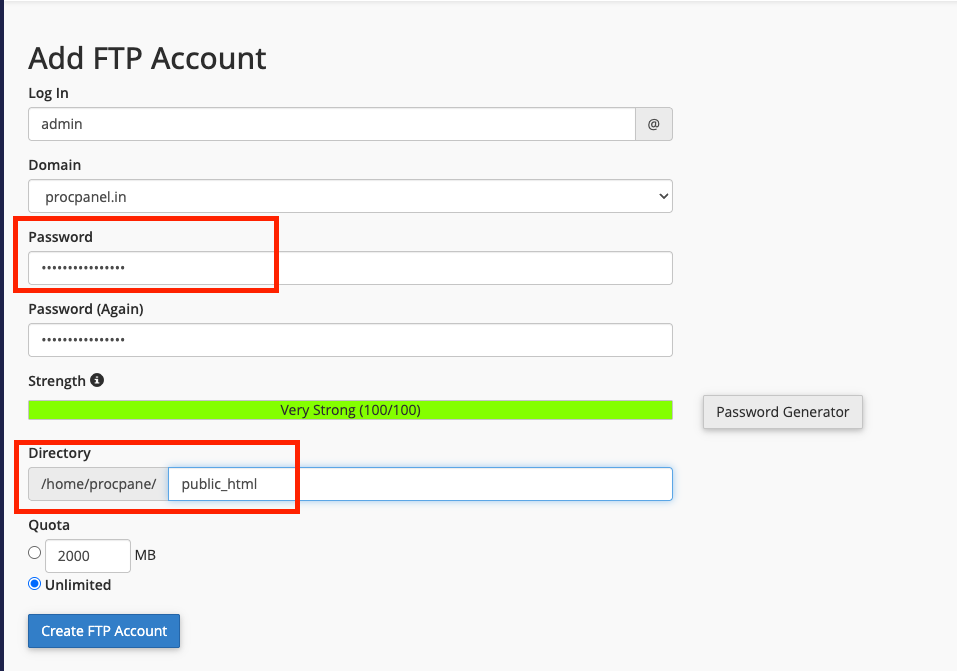
- Under Add FTP Account, enter the required information.
- Log In
- Enter a username for your FTP account.
- For example: admin
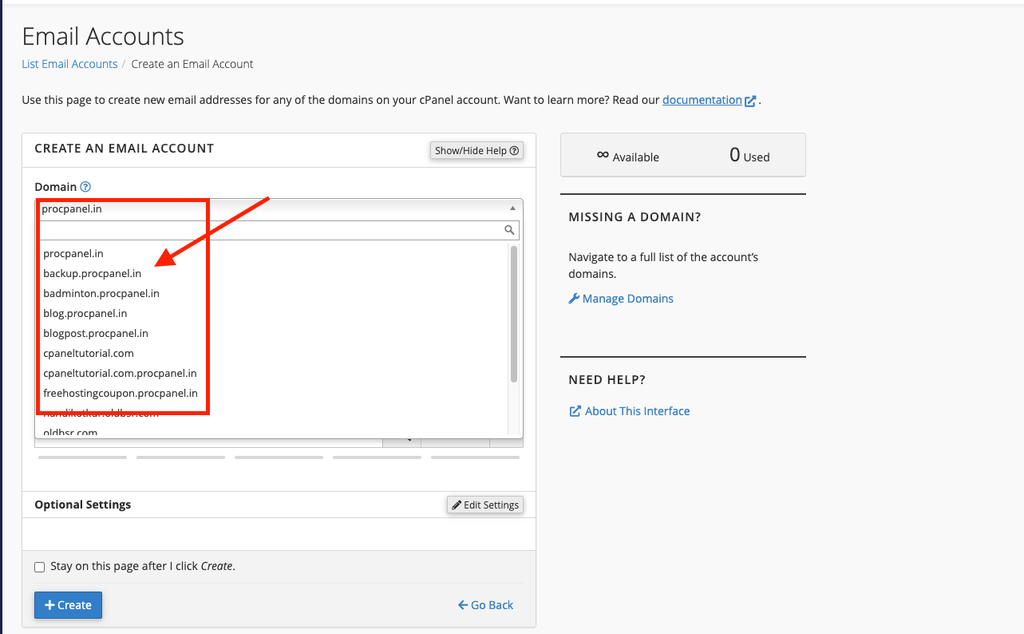
Domain
If multiple domains are available, select the appropriate domain.
Directory
- Enter the directory that the FTP user should be allowed to access.
- For example: public_html
- If you want the FTP account to access only a specific website folder, you can use:
- public_html/example.com
Step 3: Click Create FTP Account
- After entering all the required details, click:
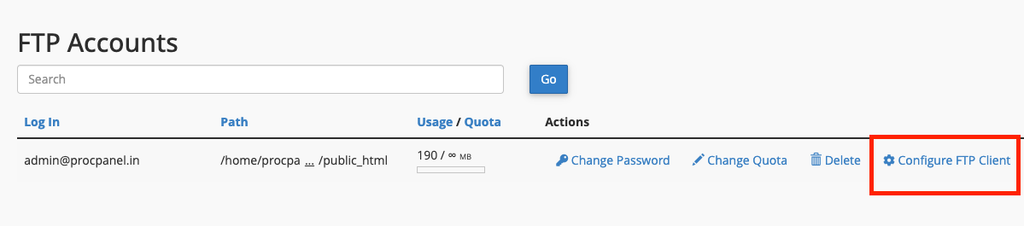
2. Create FTP Account
3. Your new FTP account will be created.
If ftp.yourdomain.com also doesn’t connect, use the server hostname shown in your cPanel hosting details. You can usually find the server information under cPanel → Server Information.
So I recommend testing in this order:
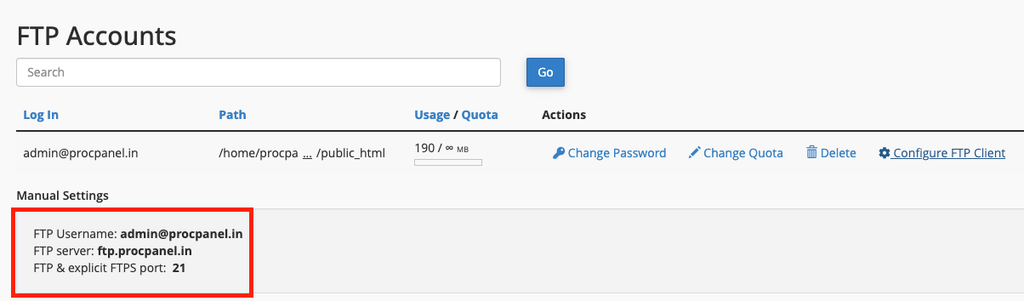
- FTP Username: admin@yourdomain.com
- FTP server: Server IP address
- Port : 21
- Password: Your FTP account password