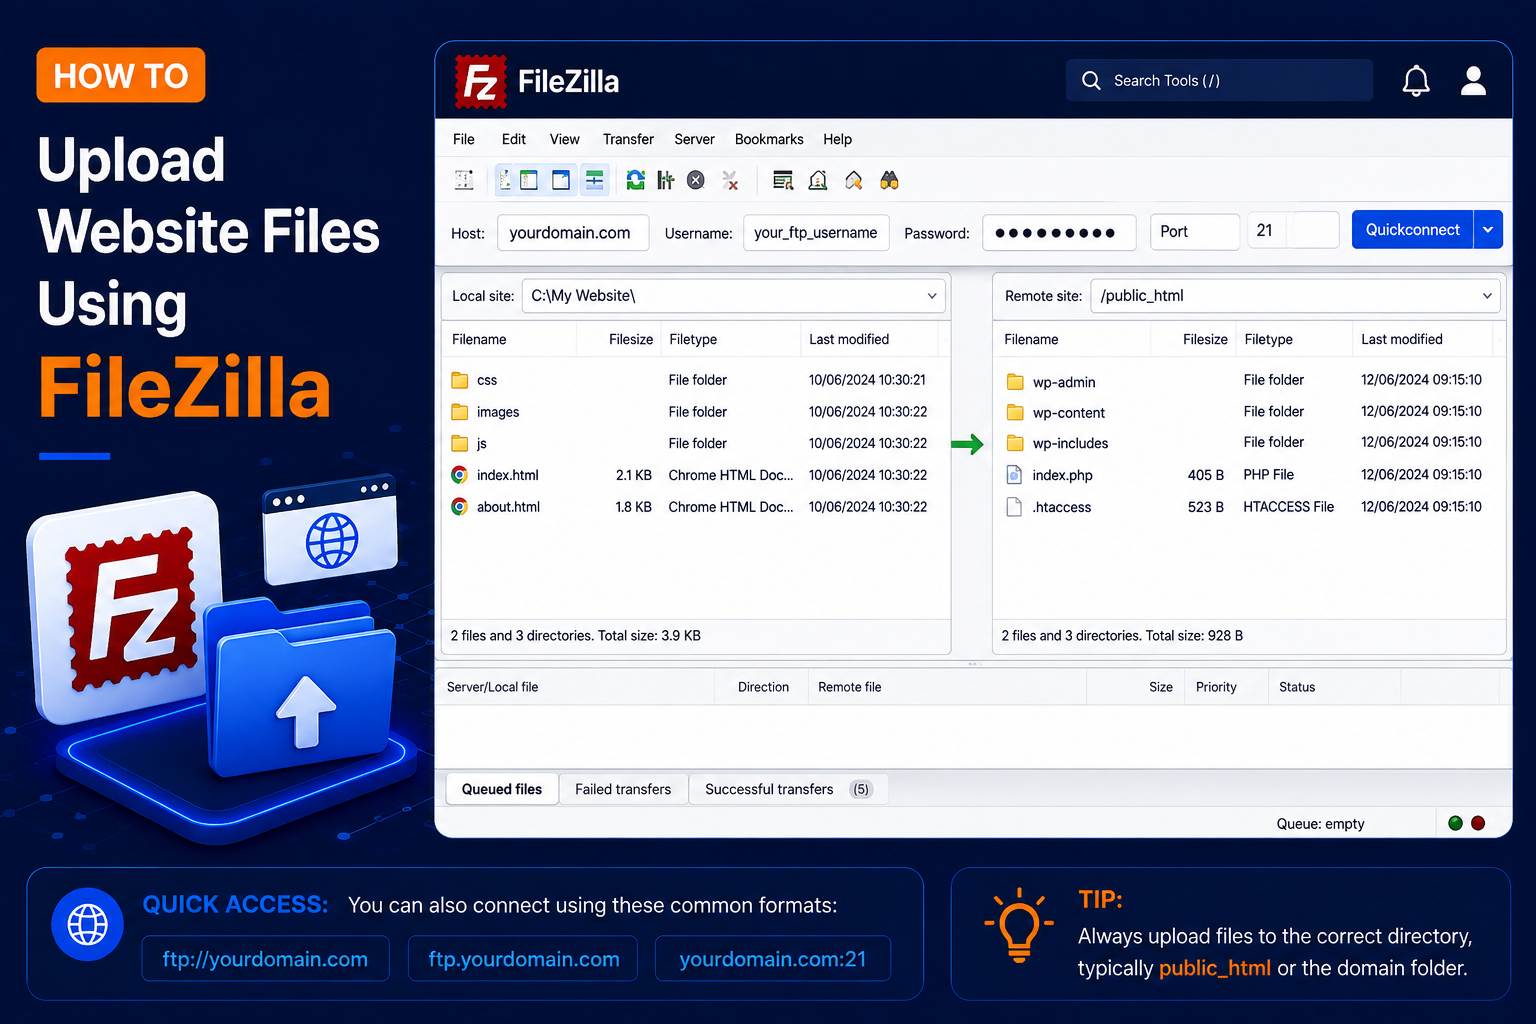
How to Upload Website Files Using FileZilla
FileZilla is a popular FTP client that allows you to upload and download website files between your computer and web hosting server.
In this tutorial, you’ll learn How to upload website files using FileZilla step by step.
What Do You Need?
Before starting, make sure you have:
- FileZilla Client installed on your computer
- FTP hostname or server IP address
- FTP usernameFTP password
- FTP port number
- Website files ready on your computer
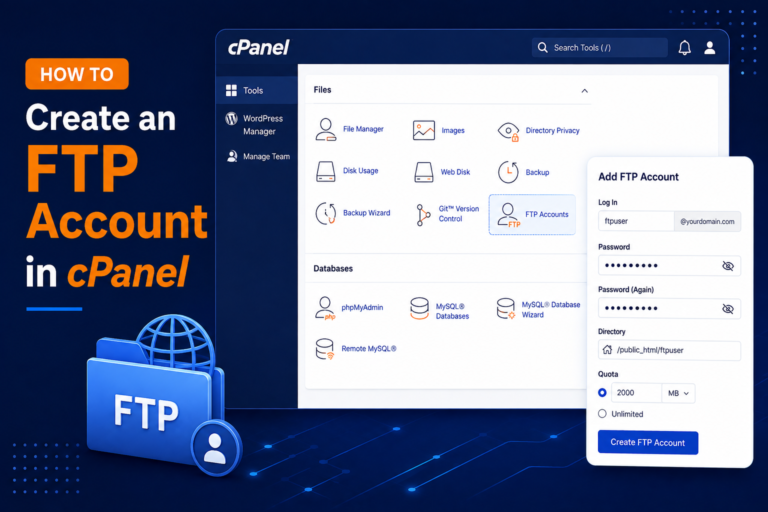
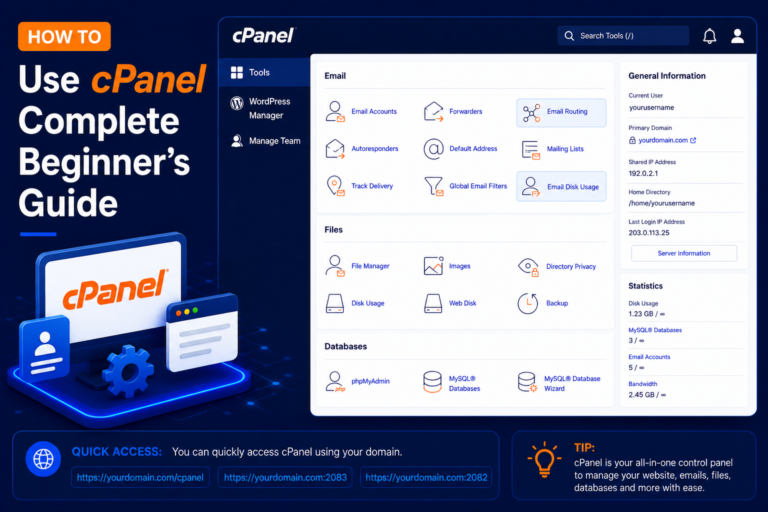
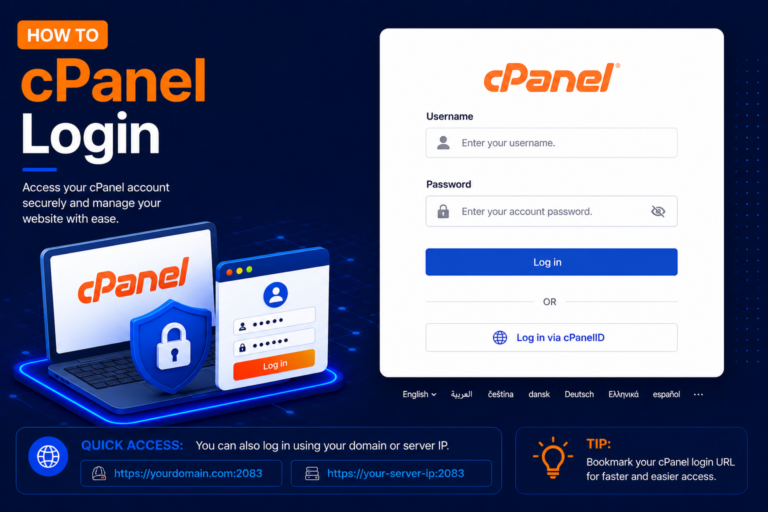
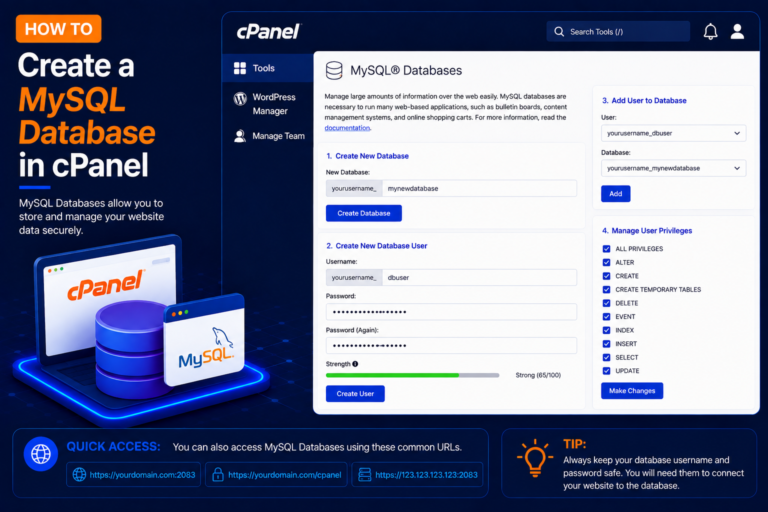
You can usually find your FTP details in cPanel → FTP Accounts
If you don’t know how to create cPanel FTP login details, please follow this blog guide to create them.
How to Create an FTP Account in cPanel
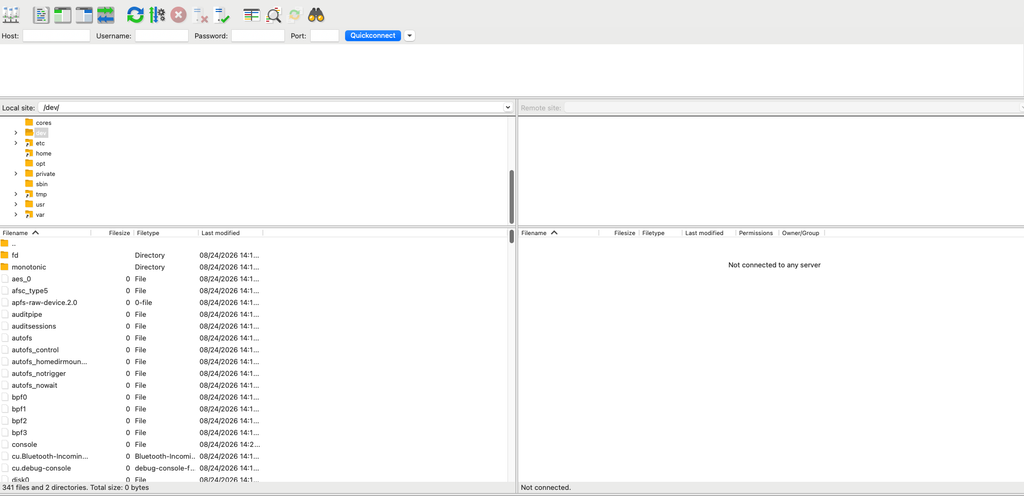
Step 1: Download and Open FileZilla Client
- Install FileZilla Client on your computer and open it.
- Make sure you install FileZilla Client, not FileZilla Server.
Step 2: Get Your FTP Login Details
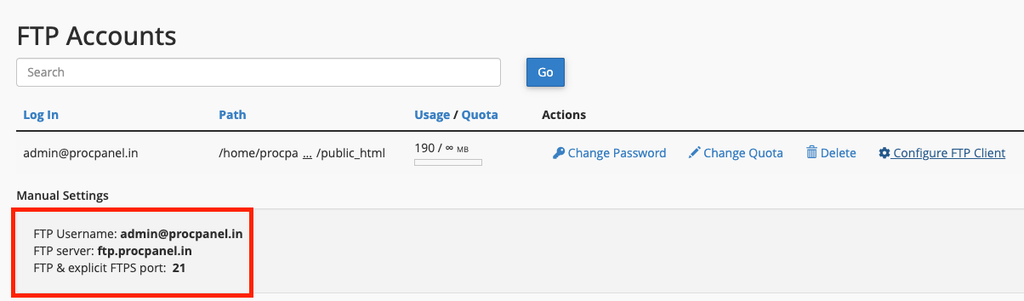
- You need the correct FTP credentials before connecting FileZilla to your hosting account.
- Your details will normally look like:
- Host: ftp.yourdomain.com or your server hostname/IP address
- Username: ftpuser@yourdomain.com
- Password: Your FTP account password
- Port: 21 for standard FTP
Note: If ftp.yourdomain.com doesn’t work, try the server hostname provided by your hosting company. You may also be able to use the server IP address.
Step 3: Enter FTP Details in FileZilla
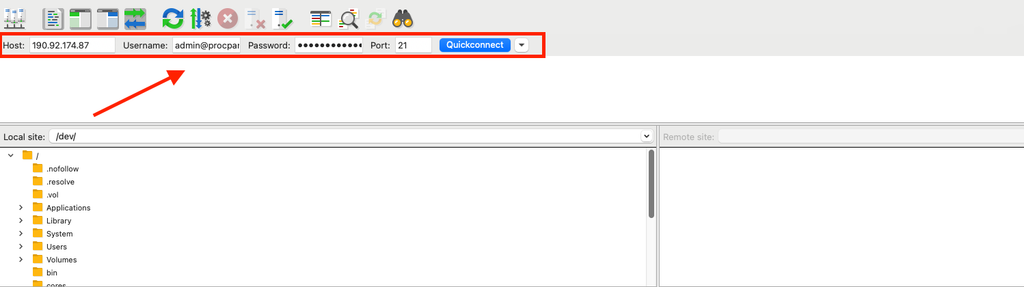
- At the top of FileZilla, you will see:
- Host | Username | Password | Port
- Host: ftp.yourdomain.com
- Username: ftpuser@yourdomain.com
- Password: Your FTP Password
- Port: 21
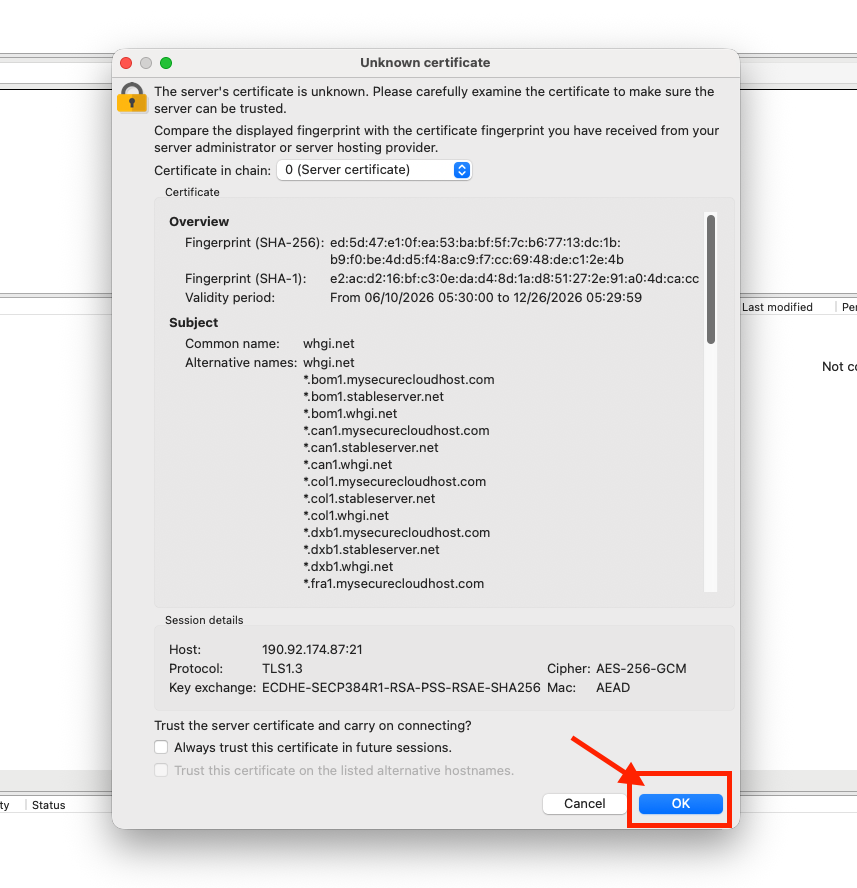
- When connecting securely for the first time, FileZilla may display a certificate verification window.
- Carefully verify that the certificate and server details are expected for your hosting account.
- If everything is correct, continue with the connection.
Step 4: Check the Connection Status
- If your FTP details are correct, FileZilla will connect to your hosting server.
- You may see a message similar to:
- Directory listing successful
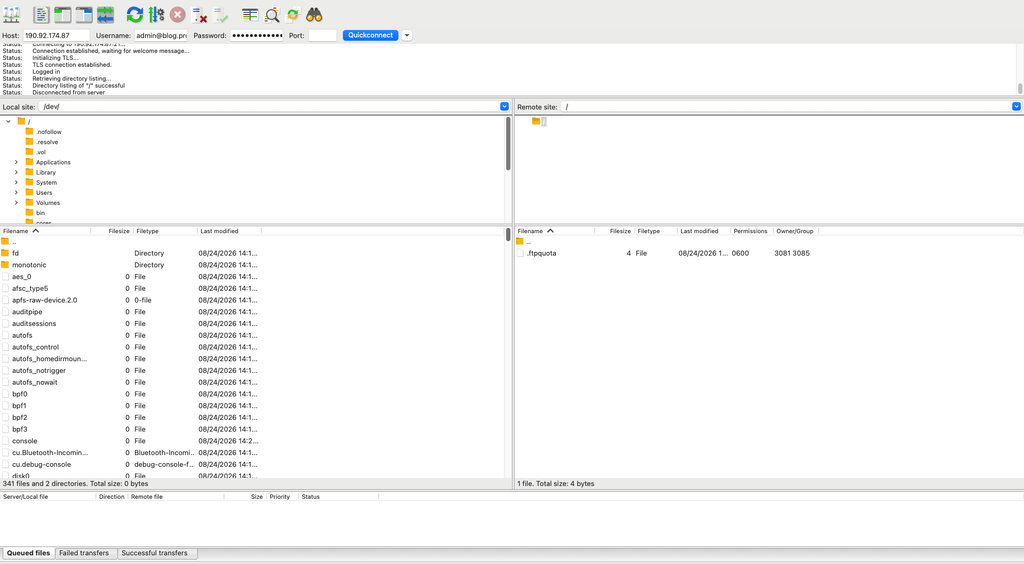
- The FileZilla interface is divided into two important sections:
- Local site – Files stored on your computer.
- Remote site – Files stored on your hosting server.
Step 5: Open Your Website Directory
- For the primary domain, this is commonly:
- public_html
- For an addon domain, the document root may be different.
- For example:
- public_html/example.com
- Make sure you upload files to the correct directory.
Step 6: Find Website Files on Your Computer
- On the Local site side, navigate to the folder containing your website files.
- For example, your website may contain:
- index.html
index.php
css
images - Select the files and folders you want to upload.
Step 7: Upload Website Files
- Select your website files on the Local site side.
- You can upload them in either of these ways:
- Right-click → Upload or drag and drop them from the Local site to the Remote site.
- FileZilla will begin transferring the files to your hosting server.
Step 8: Wait for the Upload to Complete
- At the bottom of FileZilla, you can monitor the file transfers.
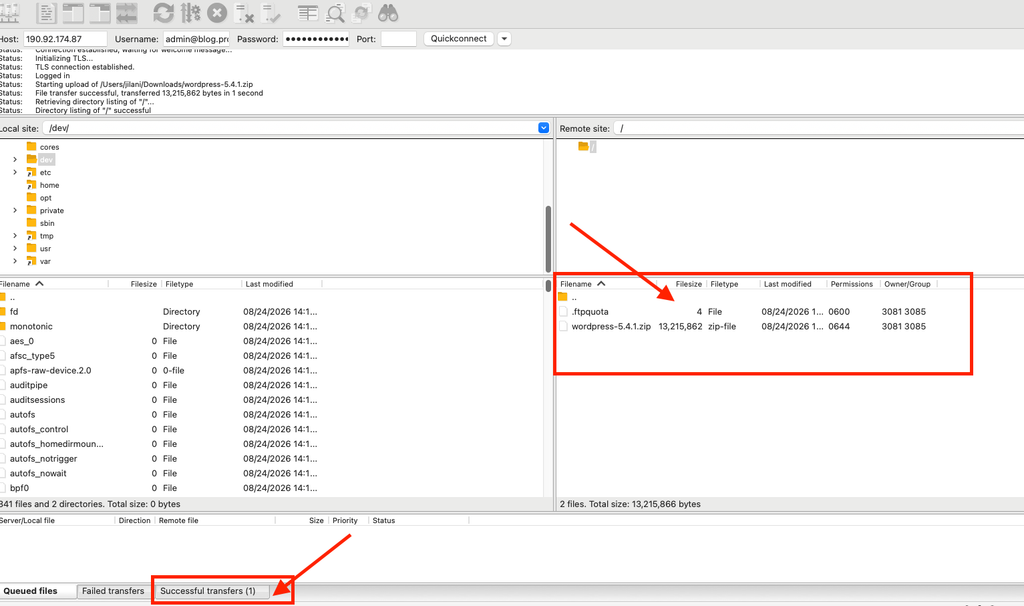
You will normally see sections such as:
- Queued files – Files waiting to transfer
- Failed transfers – Files that failed to upload
- Successful transfers – Files transferred successfully
- Wait until all required files have finished uploading.