How to Log In to cPanel Manually Using Your Domain
Panel is one of the most popular web hosting control panels. It allows you to manage your website files, domains, email accounts, databases, SSL certificates, backups, and many other hosting features from a simple dashboard.
If you are new to web hosting, this guide will show you how to login to cPanel step by step.
What Do You Need to Login to cPanel?
- Before logging in, make sure you have:
- Your domain name or server IP address
- Your cPanel username
- Your cPanel password
- Your cPanel login URL
Your hosting provider usually sends these details in your hosting account welcome email.
Method 1: Login to cPanel Using Your Domain Name
- The easiest way to access cPanel is through your domain.
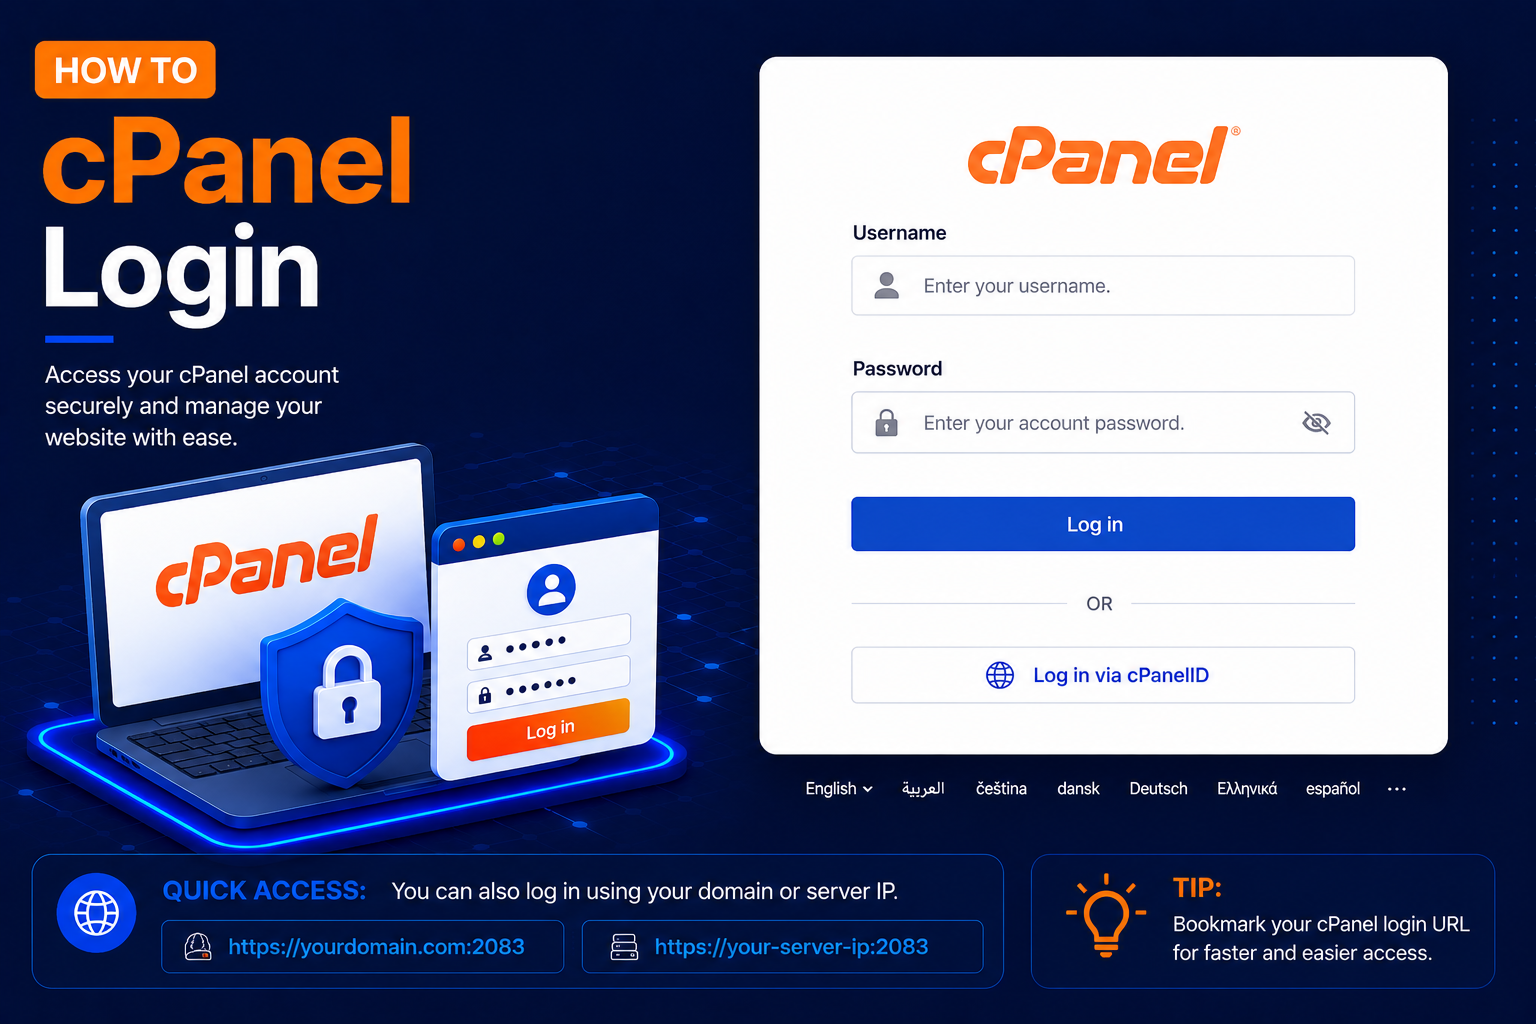
- Open your web browser and enter: https://yourdomain.com/cpanel
- Replace
yourdomain.comwith your actual domain name. - For example: https://yourdomain.com/cpanel
- You will be redirected to the cPanel login page.
- Enter your Username and Password, then click Log in.
Method 2: Login to cPanel Using Port 2083
- You can also access the secure cPanel login page using port 2083.
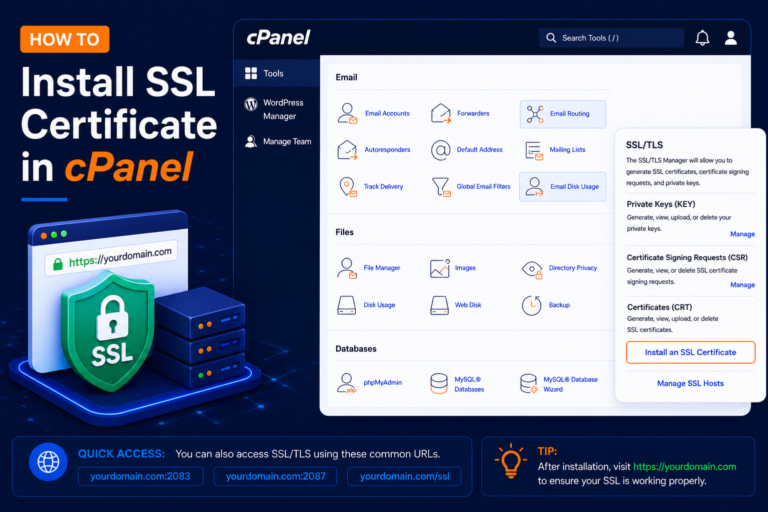
- Enter: https://yourdomain.com:2083
- Port 2083 is commonly used for secure HTTPS cPanel connections.
- Enter your cPanel username and password and click Log in.
Method 3: Login to cPanel Using the Server IP Address
- If your domain is not pointing to your hosting server yet, you may be able to access cPanel using the server IP address.
- Use: https://SERVER-IP:2083
- For example: https://192.0.2.10:2083
- Replace the example IP address with the IP address provided by your hosting company.